How to Install TWRP and Root on Android Phones Using Fastboot (Non-Samsung)
Today I’m going to be showing you how to install TWRP (TeamWin Recovery Project) and then root your Android phone. Note that this procedure will not work with Samsung phones – you must use Odin instead. You can follow my other post here to install TWRP and Root your Samsung phone here: https://www.androidaddicts.online/index.php/2020/05/16/how-to-install-twrp-and-root-on-android-phones-samsung-included-using-odin/
I’ve made a little program which will make it even easier for you to do this – you don’t even have to type any commands! Just follow the steps below to get TWRP up and running on your phone and then you’ll be able to root it. Note – you do require a computer to do this. There is no easy way to do this without a PC.
Step by Step Guide to install TWRP and Root
Step 1)
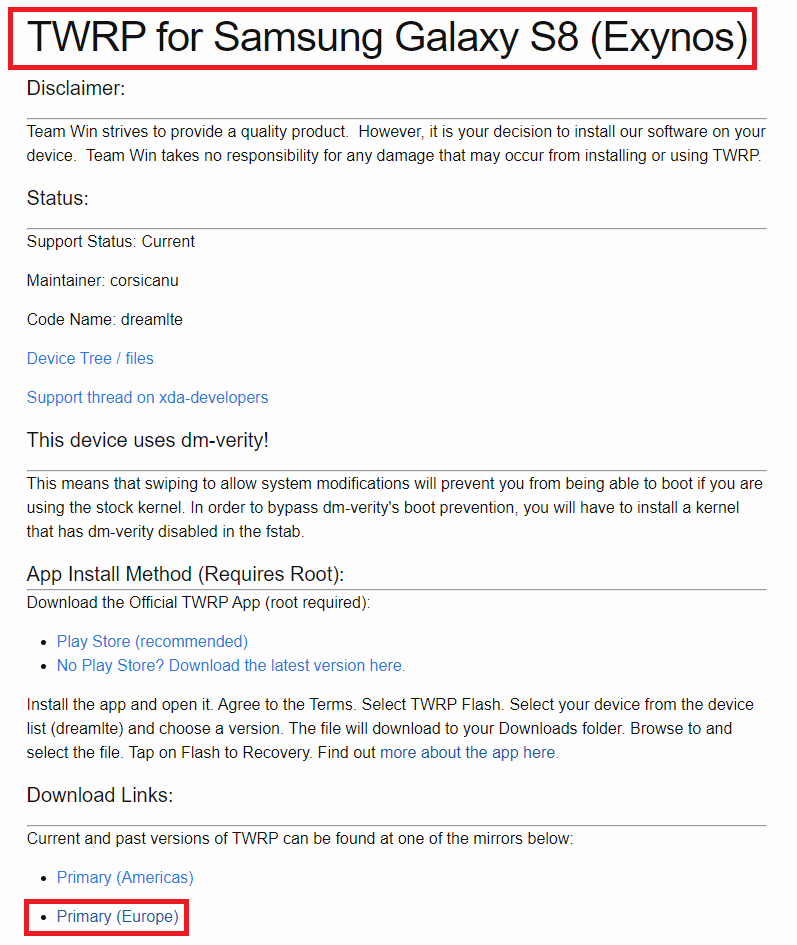
Go to https://twrp.me/Devices/ and search for your phone to ensure it’s compatible. If so – great, you can continue
Step 2)
Once you’ve found your phone on the TWRP site, click on it and then select one of the download links here I’m selecting Europe:
Step 3)
Next up, select the latest available version of TWRP and download the .img file:
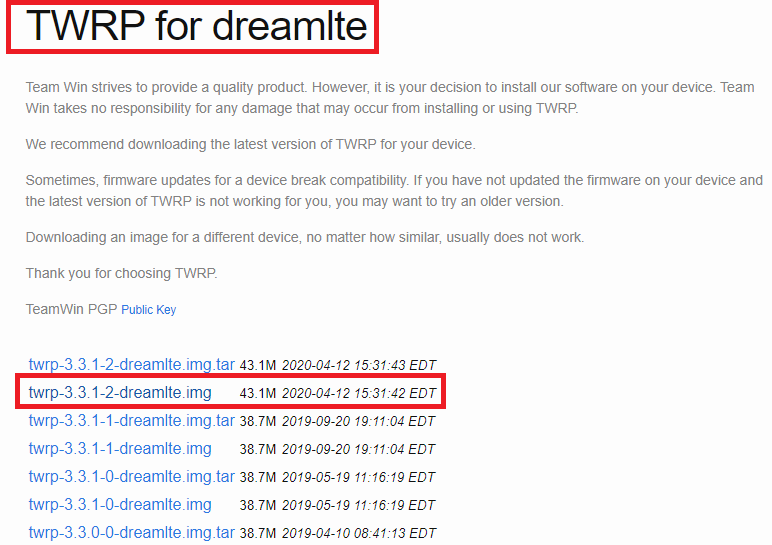
Here I’m downloading the file named twrp-3.3.1-2-dreamlte.img
Step 4)
Next you’ll want to download the “Easy TWRP Flashing Tool” that I created from here: http://www.mediafire.com/file/5tvsuqenf3euymy/Easy_TWRP_Flashing_Tool.zip/file
Step 5)
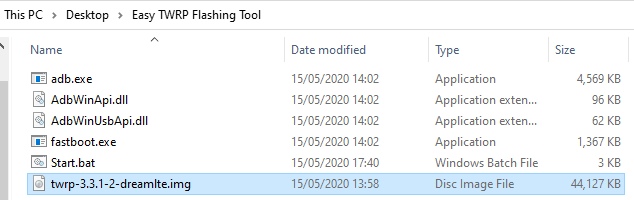
Extract the zip file to your Desktop (or somewhere easy to find) and then drag your twrp-xxx.img file into it. Your folder should now look like this:
Step 6)
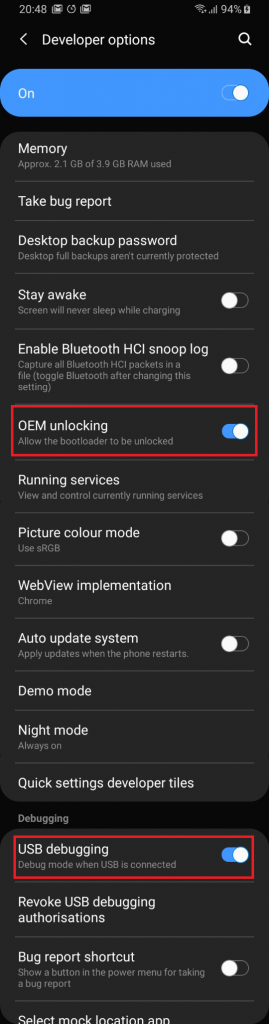
Enable “USB Debugging” and “OEM unlocking” from the Developer options on your phone:
Step 7)
Connect your phone to your computer and double click the Start.bat file. If you get asked if you want to “Authorise this device”, click Yes.
Step 8)
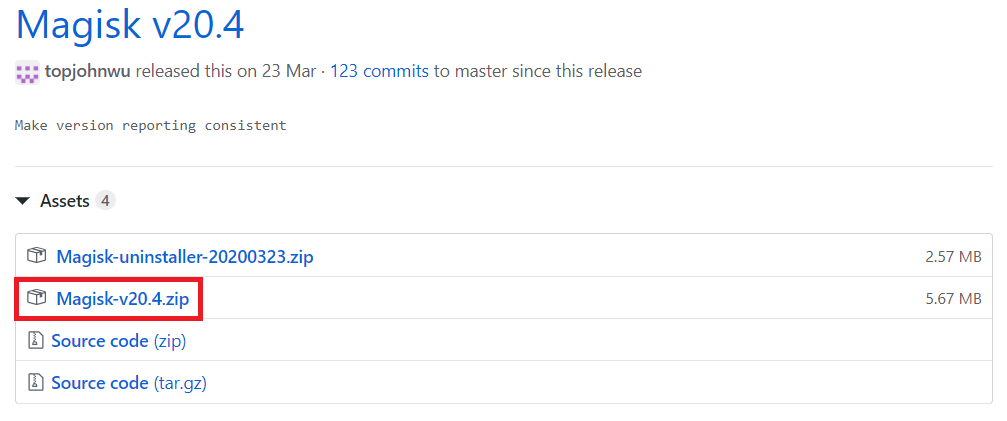
Next we’ll move on to configuring Root access. To do this we want to download and install Magisk . This is the app which will give us root access, Simply go here and download the latest version: https://github.com/topjohnwu/Magisk/releases At the time of writing, the latest version is 20.4:
Step 9)
Once you have the ZIP file, copy it to your phone’s internal storage. Now it’s time to boot your phone into Recovery mode – this is why we installed TWRP – so we can now install Magisk onto our phone! On my Galaxy S8, recovery mode is accessed by turning off the phone and then holding Volume Up + Bixby + Power
Step 10)
Once in TWRP Recovery, click Install, browse to the Magisk zip file you copied on earlier and select it. Now swipe right on the bottom of the screen to flash the zip file – you now have root access! You can test if you have root by installing an app such as Root Checker from the Play Store
28 thoughts on “How to Install TWRP and Root on Android Phones Using Fastboot (Non-Samsung)”